

Introduction
In the rapidly evolving fintech space, seamless interbank transfers are crucial for businesses and individuals. The Remita Interbank Transfer Service (RITS) is a powerful tool that enables users to perform various banking transactions effortlessly.
This guide is designed to help developers and finance professionals understand and integrate the Remita Interbank Transfer API into their systems, ensuring efficient and secure fund transfers across different banks. These fund transfers cut across the following:
- Generating tokens
- Single payments
- Single payment status checks
- Bulk payments
- Bulk payment status checks
- Account enquiries
- Getting active banks.
Pre-requisites
Before diving into the technicalities of the Remita API, it’s essential to have:
- A basic understanding of RESTful APIs.
- Familiarity with JSON data format.
- Access to the Remita API credentials (username and password for token generation).
- An environment where you can make HTTP requests (e.g., Postman, cURL, or any programming language with HTTP client capabilities).
Let’s dive in!
1. Authentication: The Gateway to Remita Services
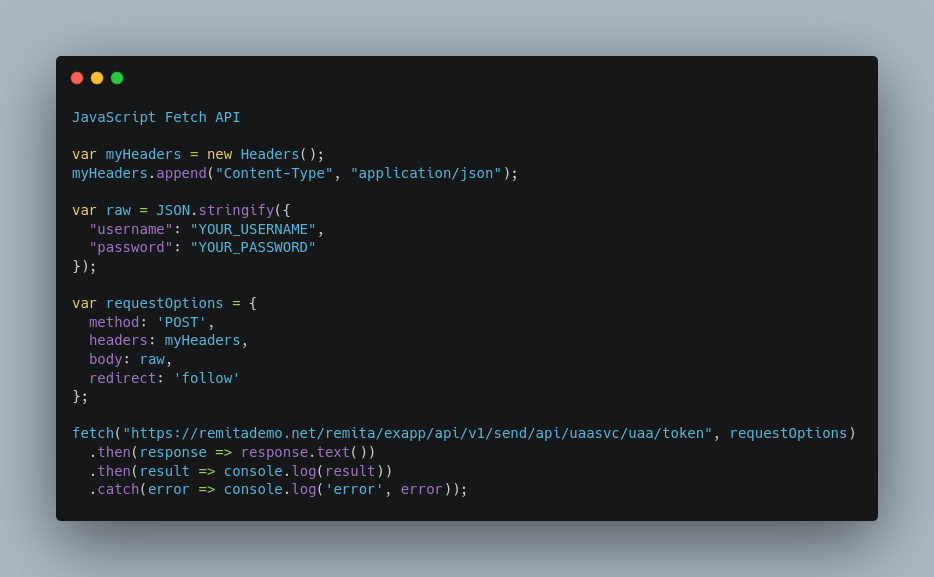
The first step to using the Remita API is obtaining an access token through authentication. This token is pivotal for authorizing subsequent API requests.
Endpoint: POST
URL:
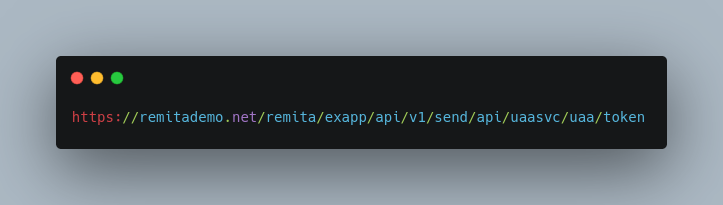
Request:
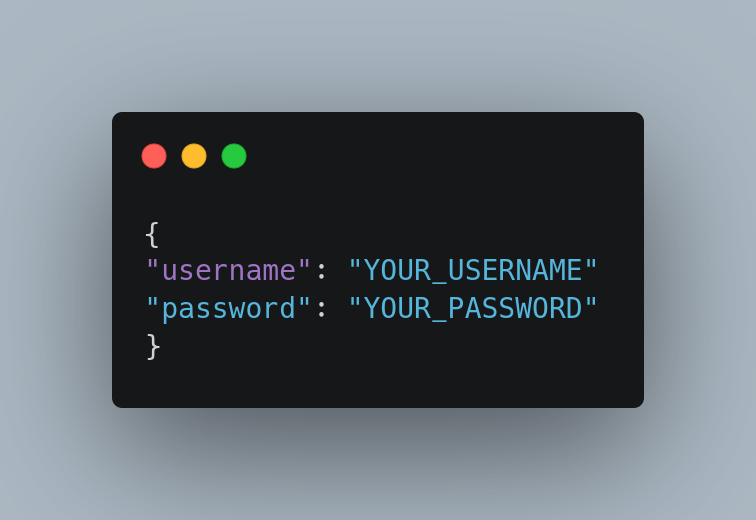
- Headers: Content-Type: application/json
- Body: JSON object containing username and password.
Request Body:
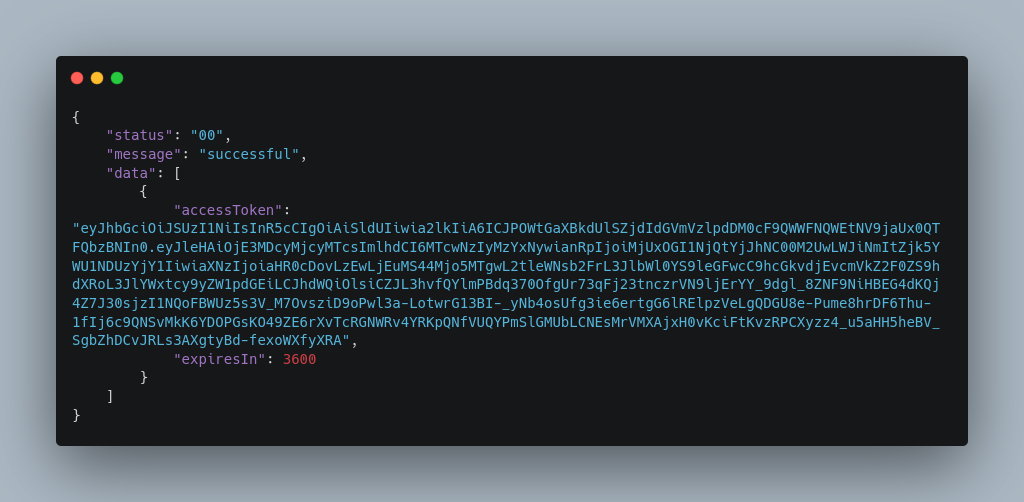
Response:
Upon successful authentication, you receive a token that expires in 3600 seconds (1 hour), which you must use to authorize your API requests.
Response Body:
2. Making Single Payments
This functionality allows you to initiate a single interbank transfer payment.
Endpoint: POST
URL:

Request:
- Headers: Include Authorization: Bearer [YOUR_ACCESS_TOKEN].
- Body: Provide details about the payment transaction, including amount, transactionRef, and account details.
Response:
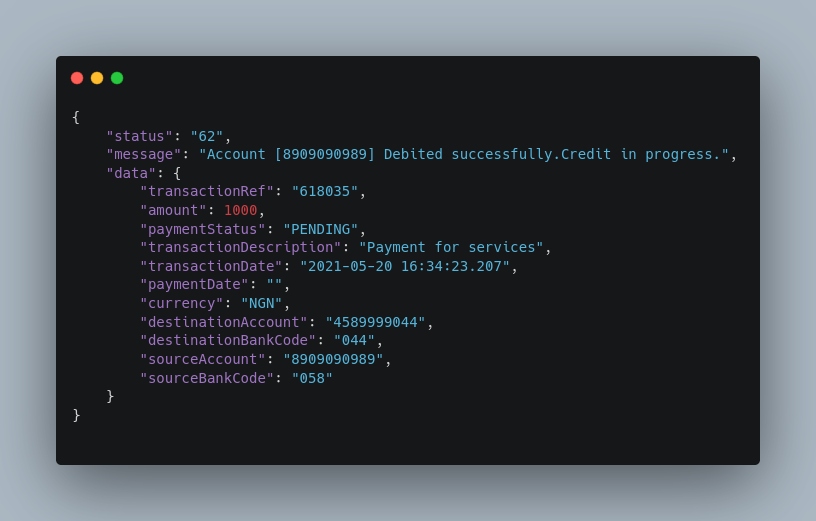
A successful request returns transaction details, including the status message and transaction reference number.
Sample use case:
Error Handling
In case of authentication failure or any other error, the appropriate HTTP status codes will be returned along with error messages in the response body.
3. Checking Single Payment Status
This enables you to check the status of a single payment transaction by replacing {transactionId} with the actual transaction identifier.
Endpoint: GET
URL:

Request Headers
Authorization: Bearer [YOUR_ACCESS_TOKEN]
Request Parameters
{transactionId}: The unique payment transaction identifier.
Response:
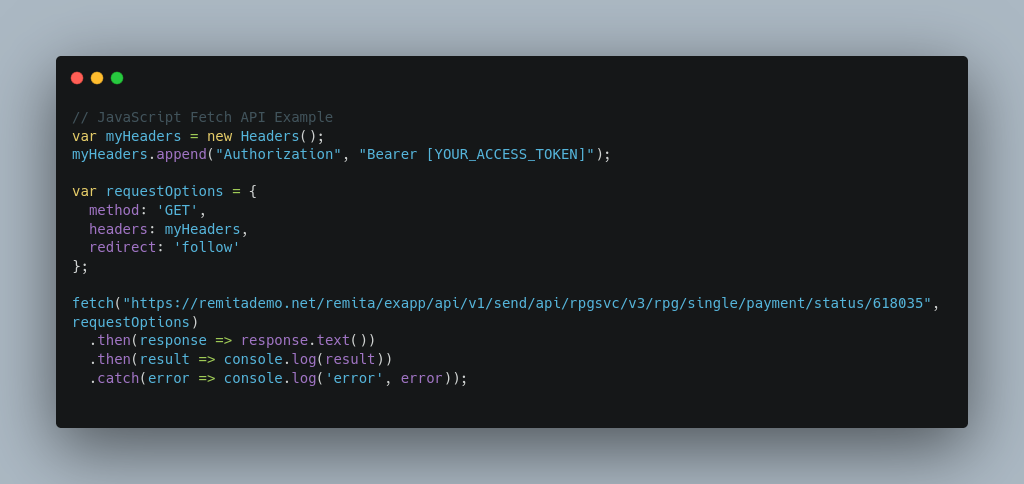
Upon successfully retrieving the transaction status, the API returns a response with transaction status details.
Sample use case:
4. Processing Bulk Payments
The bulk payment endpoint is handy for handling multiple payments in one request.
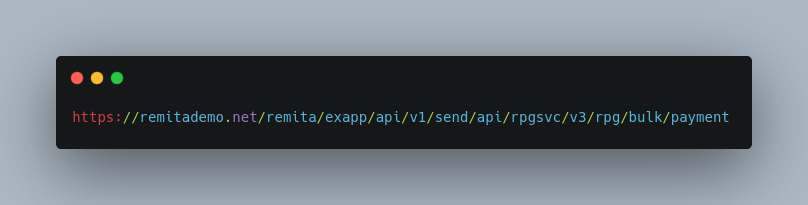
Endpoint: POST
URL:
Request:
Headers and Body: Similar to making single payments [#interlink] but includes a transactions array for multiple transactions.
Request Body
The request body must be a JSON object containing the parameters required for the bulk payment transaction:
- batchRef: Reference for the batch of transactions.
- totalAmount: Total amount of the batch.
- sourceAccount: The account number from which the bulk payment is made.
- sourceAccountName: The name associated with the source account.
- sourceBankCode: The bank code of the source account.
- currency: The currency of the transaction.
- sourceNarration: Narration for the bulk transfer.
- originalAccountNumber: Same thing as sourceAccount.
- originalBankCode: Same thing as sourceBankCode.
- customReference: Custom reference for the transaction.
- transactions: An array containing individual transaction objects with the following properties:
- amount: The amount of the individual transaction.
- transactionRef: Reference for the individual transaction.
- destinationAccount: The account number of the recipient for the individual transaction.
- destinationAccountName: The name associated with the recipient’s account for the individual transaction.
- destinationBankCode: The bank code of the recipient’s bank for the individual transaction.
- destinationNarration: Narration for the individual transaction.
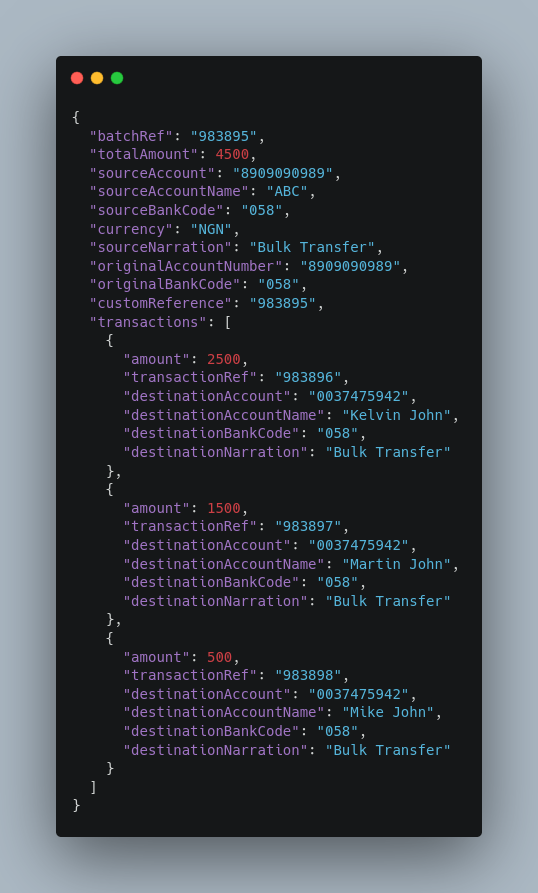
Sample Request Body
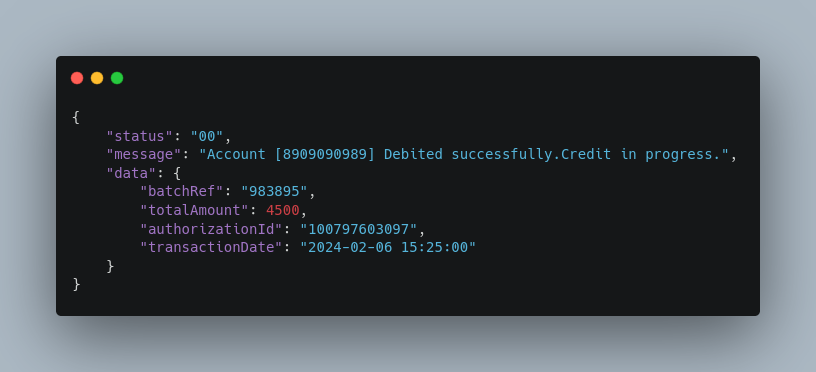
Sample Response:
Upon successful processing of the bulk payment transaction, the API returns a response with details of the transaction.
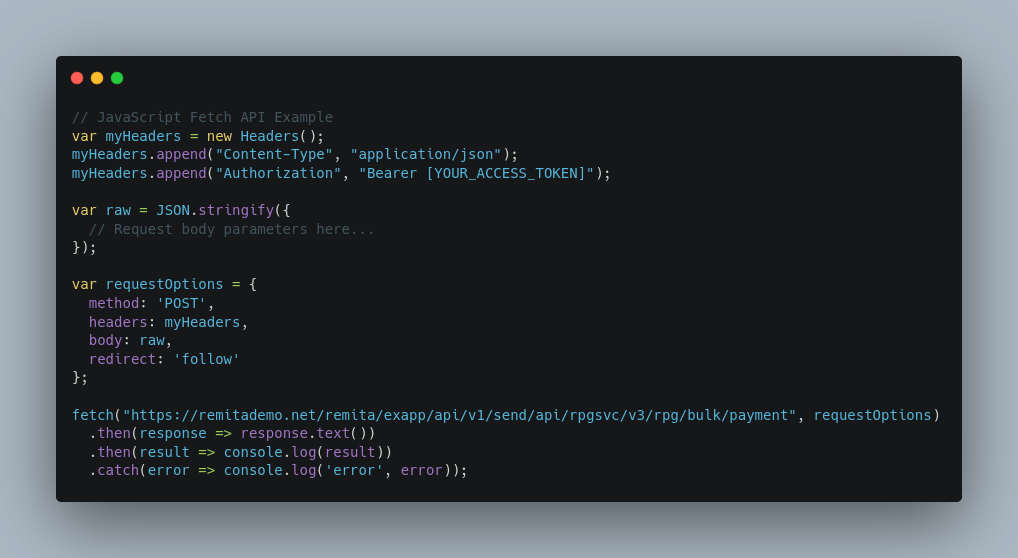
Sample use case
Error Handling
In case of any errors during the transaction processing, the appropriate HTTP status codes will be returned along with error messages in the response body.
5. Checking Bulk Payment Status
Track the status of bulk payment transactions by specifying the batchRef.
Endpoint: GET
URL:
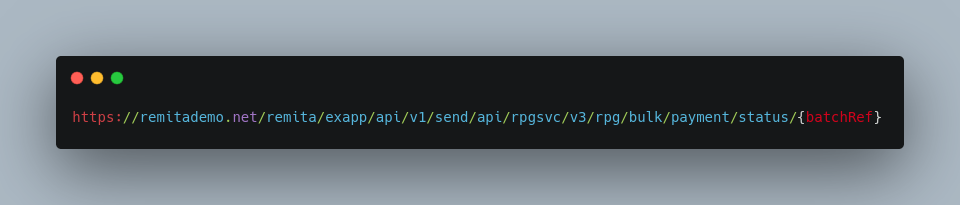
Note: Replace {batchRef} with the reference for the batch of transactions whose status is being queried.
Request Headers
- API_KEY: Your Remita API key.
- MERCHANT_ID: Your Remita merchant ID.
- REQUEST_ID: A unique identifier for the request.
- REQUEST_TS: Timestamp indicating the time of the request.
- API_DETAILS_HASH: Hash of API details.
- CF-Connecting-IP: IP address of the client.
- True-Client-IP: True client IP address.
- Authorization: Bearer token for authorization.
Request Parameters
- {batchRef}: The reference for the batch of transactions.
Response
Upon successful retrieval of the batch status, the API returns a response with details of the batch status.

Sample use case

Error Handling
In case of any errors during the retrieval of batch status, the appropriate HTTP status codes will be returned along with error messages in the response body.
6. Conducting Account Enquiries
Retrieve detailed information about a bank account, including the account name and status.
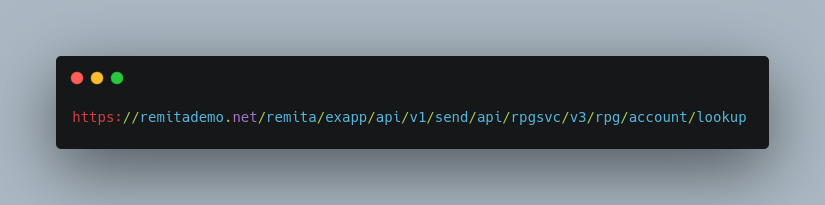
Endpoint: POST
URL:
Request Headers
- Content-Type: Specifies the format of the request payload. In this case, it’s application/json.
- Authorization: Bearer token for authorization.
Request Body
The request body should be a JSON object containing the following parameters:
- sourceAccount: The source account number for which you want to perform the lookup.
- sourceBankCode: The bank code associated with the source account.
Response:
Upon successful lookup, the API returns a response with account details.

Sample use case

Error Handling
In case of any errors during the account lookup, the appropriate HTTP status codes will be returned along with error messages in the response body.
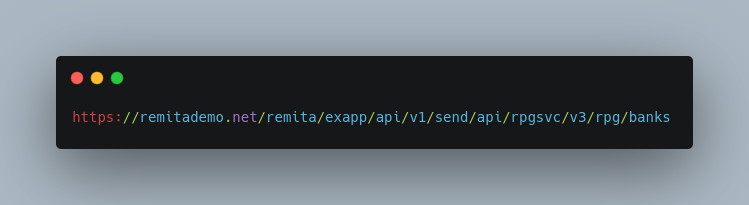
7. Retrieving Active Banks
Fetch a list of active banks that are supported by Remita, including their codes and names.
Endpoint: GET
URL:
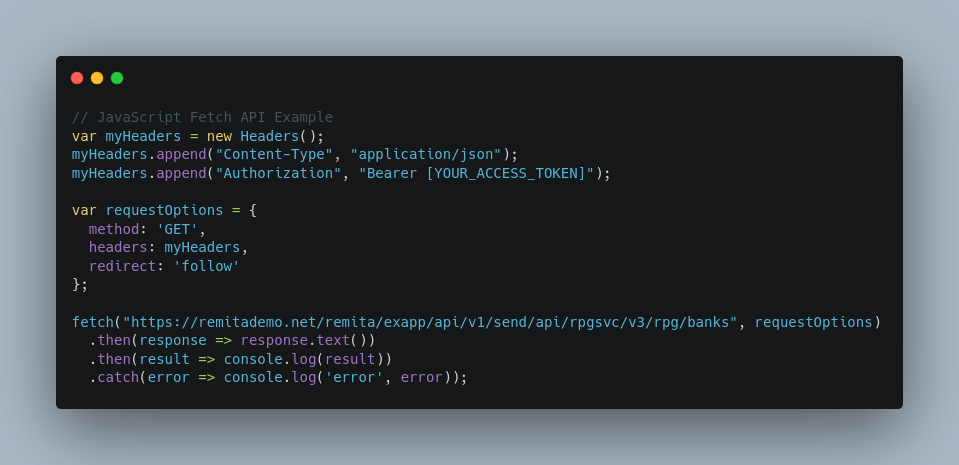
Request Headers
- Content-Type: Specifies the format of the request payload. Since this is a GET request with no body, this header might not be necessary, but it’s included.
- Authorization: Bearer token for authorization.
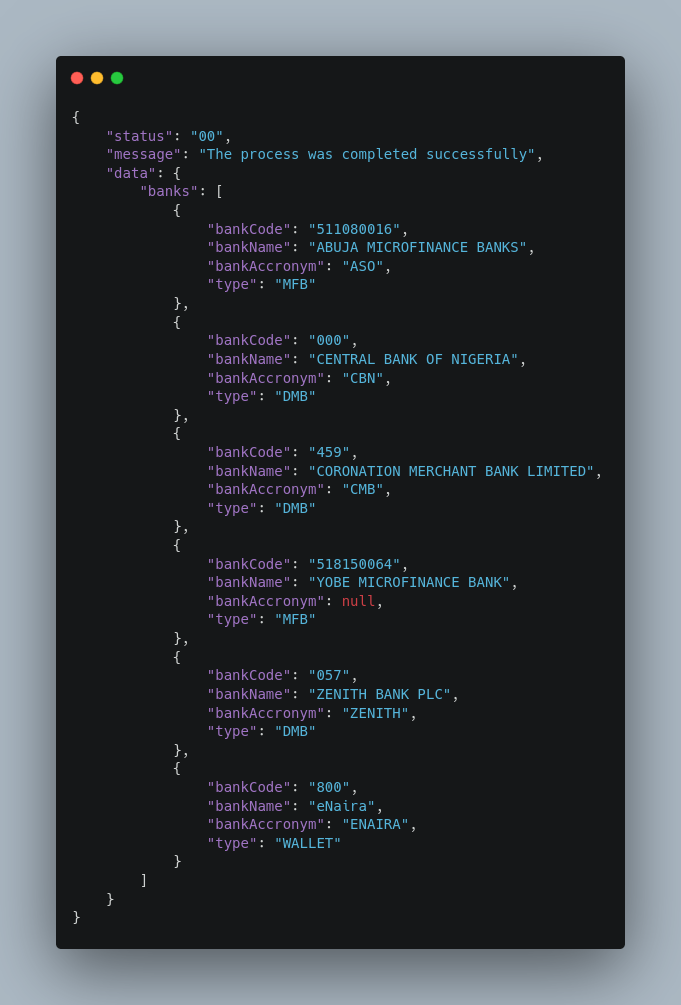
Sample Response
Upon successful execution, the API will return a response containing a list of banks.
Sample use case
Conclusion
The Remita Interbank Transfer API simplifies interbank transactions, making it an invaluable tool for developers in the fintech sector. By following the steps outlined in this guide, users can seamlessly integrate and leverage the API for various financial operations, ensuring efficiency and security.
We hope this guide is a valuable resource for mastering the Remita Interbank Transfer API. Stay tuned for more insights and updates in the fintech space. Happy coding!